Transcribing your recordings

In the Home tab, click on the down arrow under the dictate button to reveal a sub-menu that has the transcribe option. Click on the transcribe button to reveal the transcribe panel.
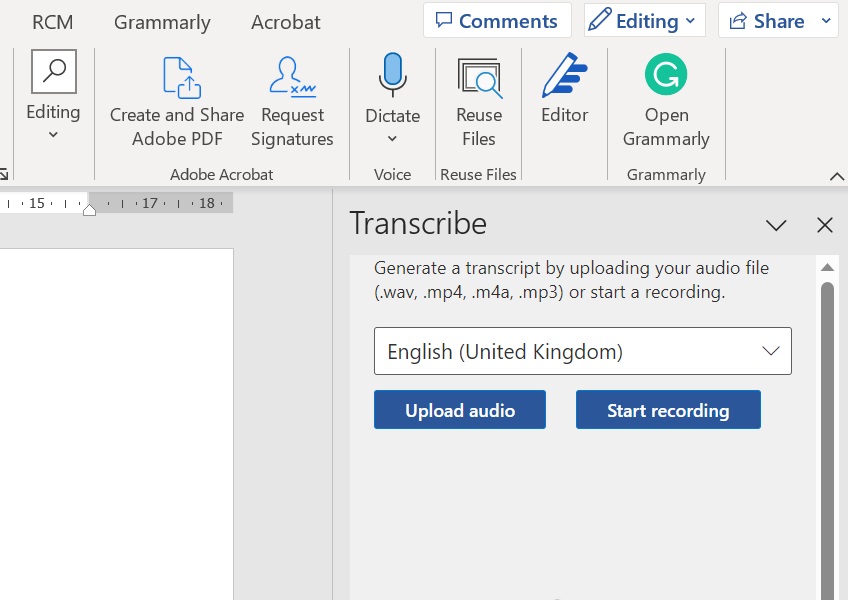
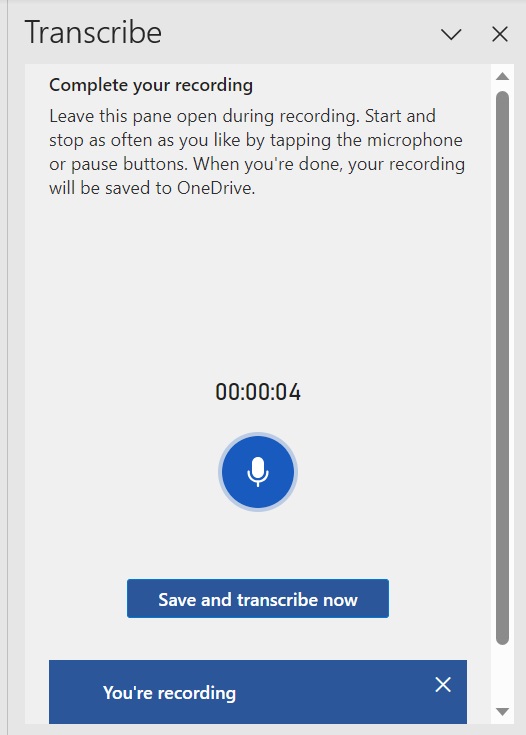
The second option is to record a live transcript which can include 2 speakers in a conversation/interview style. Select the start recording option and begin your conversation. Once completed press the save and transcribe now button.
Once the recording has been uploaded or you have finished the live recording (and clicked save and transcribe now) you can then choose to edit or make additions directly in the transcribe window. Once editing is complete you can then choose how the transcript will be transferred into the Word document by selecting one of the drop-down options or selecting individual parts by clicking on the plus icon next to each section.
