Making Notes and Links in Your Mind Maps

Making Notes and Links in Your Mind Maps

MindView can be used as a hub where all research and ideas can be linked to. You can do this using the following methods:

These options are highlighted on the toolbar below.


Make a Text Note

The Text Note editor can be used for typing ideas for your project or essay, which can you can use as your starting point when exporting to a Word document.

Click on the branch you want to attach the text note to, then press the Text Notes button on the top menu.  A panel will open at the bottom of the screen, where you can start typing your notes.

image showing the text note button and text note editor window

You can click back on the Text Notes button to hide the Text Note Editor window.  Back in the mind map, you will see that the text note is saved under the paperclip icon on the chosen branch.


You can add multiple text notes to a branch.  When in the Text Note Editor, click the highlighted icon which can be found to the far right of the Text Note Editor.


image showing the Add Text Note button 


Back to top


Hyperlink


We can use the Hyperlink option to link to your research. Select a branch, then open the Document Inspector menu and select the Objects tab.  Click on the Attach Hyperlink icon, as highlighted in the image below.


A hyperlink window will open, just paste the URL of the webpage you want to link to and name the link.

image showing the hyperlink button found in the document inspector menu

After you have pressed the OK button a paperclip symbol will appear in the branch you have selected.


When you hover over the paperclip the named link will appear. Press on it to go to the web page.


You can have multiple hyperlinks per branch.


Back to top

File Attachment

Select the branch that you want to link the attachment to then open the Document Inspector menu and click on the Objects tab. Click on the Attach File button, as highlighted in the image below.

image showing the file attachment button in the document inspector menu

In the window that appears, locate and select your file to link it to the selected branch. This will then appear under the paper clip in that branch. Hover over the paperclip to list attachments and click to open.

Back to top

Capture

With the Capture tool you can grab information from the web to insert into your mindmap, onto the selected branch.  

image showing the capture options

You can find the capture options on the main toolbar, as shown in the image above.  Alternatively, they can be found in the Document Inspector menu, in the Objects tab.

The options are -

capture photo icon   Capture Photo - This will open the built in camera on you Mac

capture screenshot icon  Capture Screenshot - This will take a capture of your screen

capture screen region icon  Capture Screen Region - This will let you capture a specific area of your screen

capture pasteboard icon  Capture Pasteboard - This will capture any text that you have selected and copied

capture audio icon  Capture Audio Note - This will let you record an audio clip


Capturing an Image

Pressing the  capture screen region icon  Capture Screen Region button will minimise MindView and turn your mouse pointer into a crosshair.  Now, draw around the area of the screen you want to capture. The image will be captured.

This feature is very useful for capturing inaccessible text from eBooks, or for capturing images and diagrams from PDFs.


Once you have selected the area of the screen to capture, a preview window will appear as shown below:

image showing the Mindview Capture Editor window

You have options to crop, rotate or to adjust the image.  You can also use the OCR option to convert any text inside the image into fully accessible text.


In the Apply to section, you can choose to import the picture to the selected branch in a few different ways.


Floating Picture - Will import the image so that it is 'floating' close to the selected branch

Topic Picture - Will import the image so that it sits inside the selected branch

Attachment - Will add the picture as an attachment to the selected branch


You can also choose to send the image as a Picture Note to your Research folder.


You will need to be logged into MindView with your user account to find any information that has been sent to the research folder.  You can access this information from the Research Inspector menu. Drag and drop the item from the Research Inspector across to a branch.


 Within the preview window you can also add a title and URL.


When you click Done, the image will be added to your mindmap.  The example below shows using the Topic Picture option.


image showing the captured image now in the mindmap

Capturing Text

To capture text, firstly highlight and copy the text you want to insert into our mind map. 

In the mind map, select the branch you wish to attach the text to, and then click on the Capture Pasteboard button capture pasteboard icon

The Capture Editor preview window will now appear.

image showing the text capture preview window

In here, you can change the text format, along with adding a title and URL link.

In the Apply to section, you can select Text Note under the Subject heading.  This will send the text directly to the branch you selected earlier. 

If you did not select a branch, you can instead choose Text Note under the Research heading.  This will instead add the text to the Research Inspector, and you can then drag and drop the text across to your branch of choice.

Click Done to send the text into your mind map.

image showing the captured text now attached to a branch in the mind map

You will now see the text has been copied across into a Text Note, and you have the paperclip icon on the branch.

Back to top

Mindview Assist (mobile app)


You can also capture information using MindView’s mobile app called MindView Assist (downloadable for both Apple and Android)

You can use the app to:

  • capture text from web pages
  • record videos
  • create audio notes that can be transcribed
  • take photos
  • Scan text from book pages

All of this, along with original source information, can then be inserted into your mind map from the Research Panel, so you can keep researching and building your mind map whilst away from your computer.  


When you have installed and loaded MindView Assist, you can toggle between the Tasks and Research screens, using the buttons at the top of the screen.  Click Research, then press the Plus (+) button to add a new research note.


You can also organise your research into folders, which you can create or move between as needed. Press the folder button to see all your folders, including an "unassigned" option for research not yet sorted.


You can move a piece of research by selecting it and then choosing an existing folder, or by creating a new one.
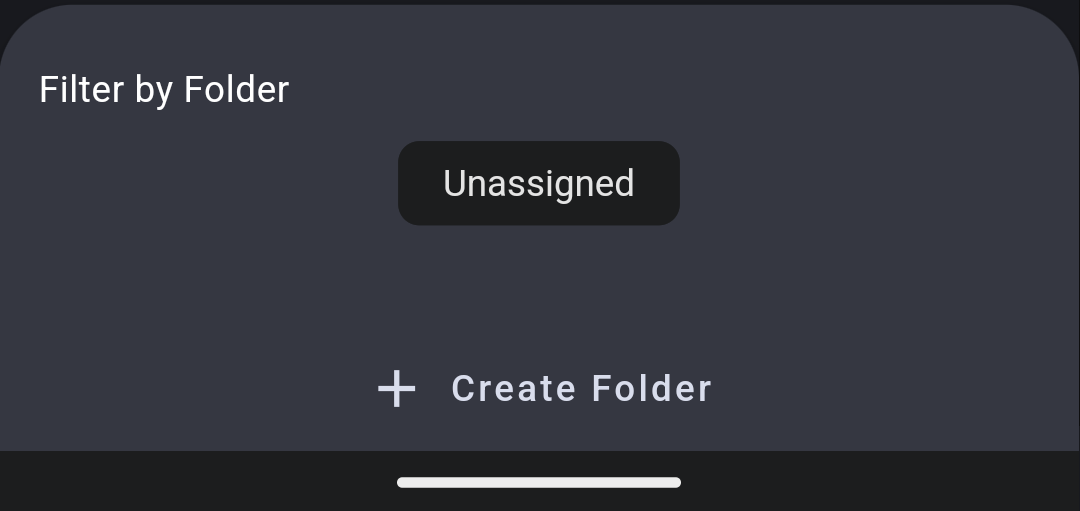

buttons for adding to or creating new folders
home screen screenshot


To capture text from a web page, select and copy the text from the online source and then go to MindView Assist. Press the Plus button on the bottom right-hand side of the screen.

Press the Text button and then paste the text into the New Note window.  Press the tick to confirm.


screenshot of pop up menu
pasted text from web page

From the screen that appears, you can give the information a title, select a folder to save it to, along with adding the source information for reference purposes.  Press the tick to complete.


adding annotation to research piece

To add an image from your camera (for example, to capture text from a book) press the Plus button and then press the Picture button. The app will now open your camera.


Once you have taken your picture, you will then have the option to save the image with a name and source information to a folder.


To extract text from the image (so it can be accessed in the text note editor in MindView) press the OCR button. You can now save the text as a separate research note.


OCR option button


When you use MindView Assist to gather information for your mind map, the sources will be added to the source management list in MindView. This happens automatically when you drag research items from the Research tab into your mind map.