Annotating an online recording
Notes and labels
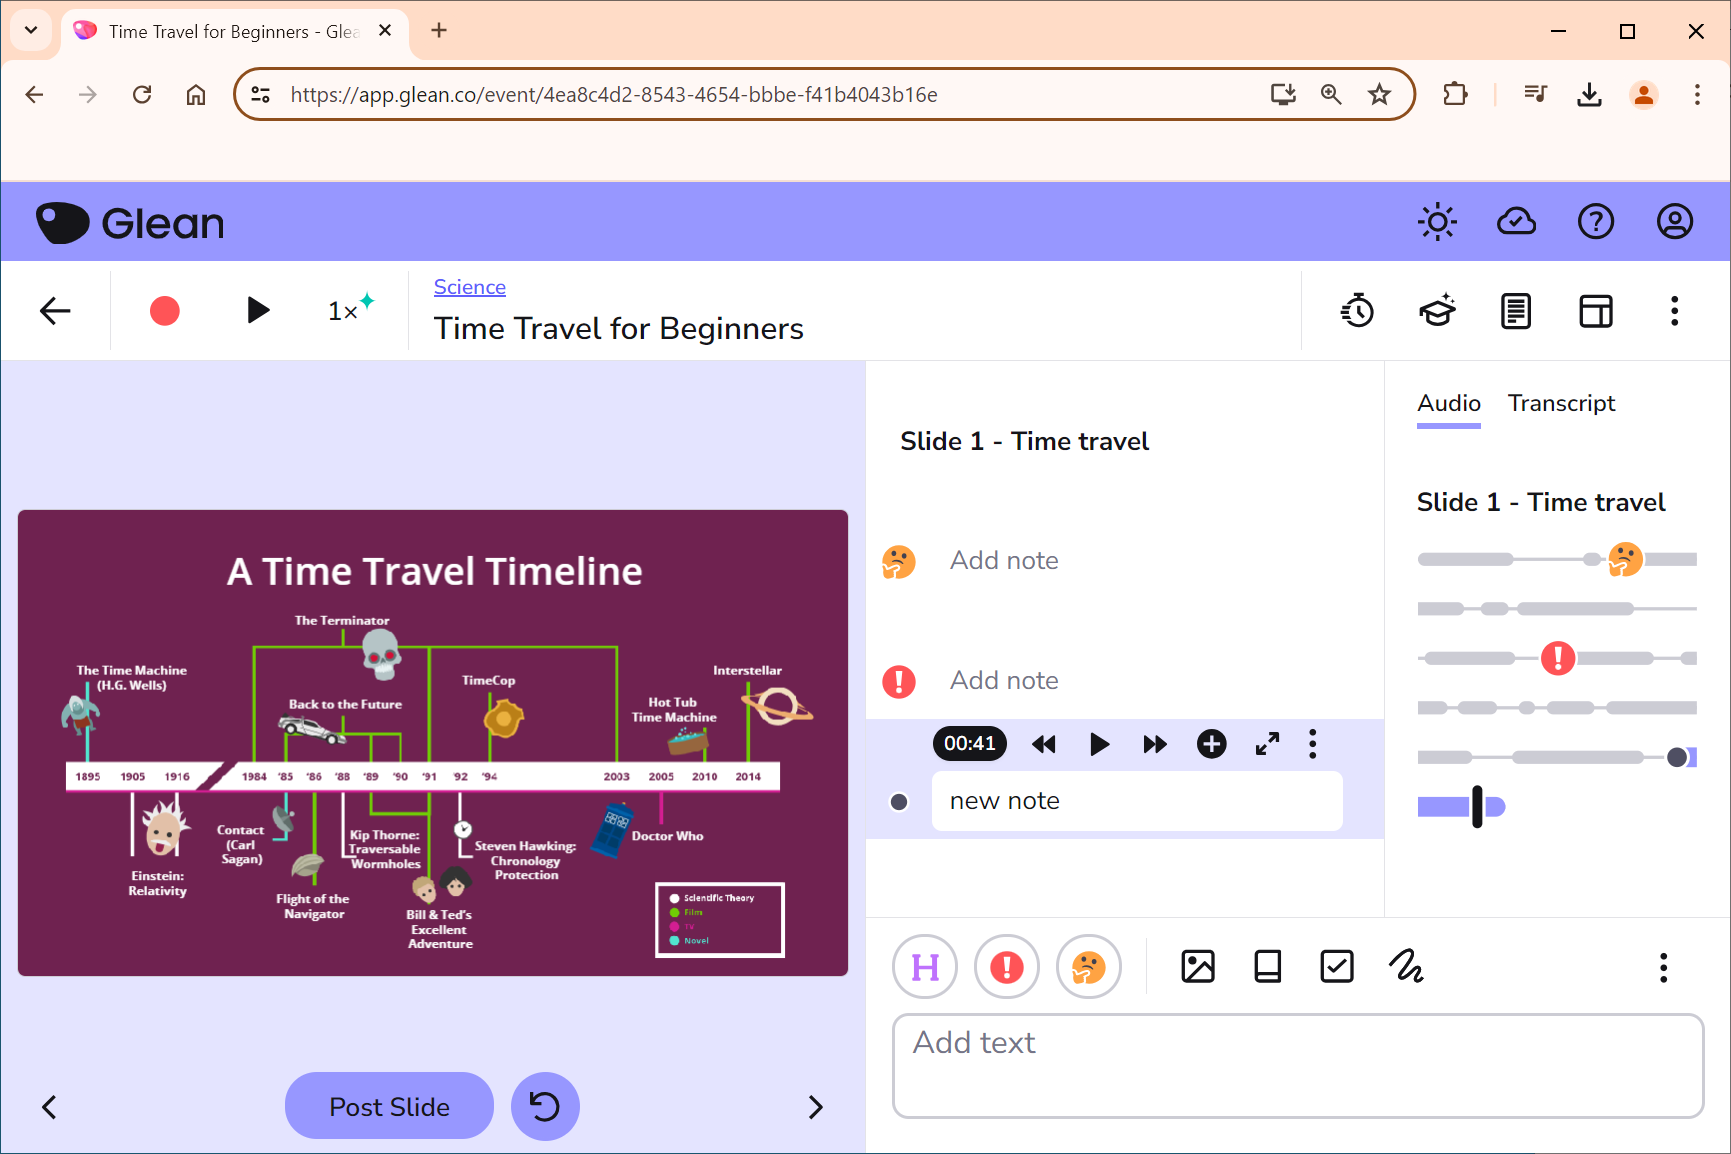
When recording, a visualisation of the audio is created on the right of the screen.
You can use the options on the bar at the bottom right of the screen to add notes and labels to the recording.


You can add the following labels:
![]() Heading. Useful to add section breaks to long recordings.
Heading. Useful to add section breaks to long recordings.
![]() Important. To mark something that you found was a key point.
Important. To mark something that you found was a key point.
![]() Review. To mark something that you didn't understand or need to listen to again.
Review. To mark something that you didn't understand or need to listen to again.
Pressing on these label buttons and then pressing enter or the arrow in the Notes box will add them directly into the audio visualisation a few seconds before they were pressed, to allow for reaction time.

Insert a formula
You can insert formulas into the notes pane by pressing on the Insert formula button in the notes box.

When you press on the Insert Formula button, the formula will be added to your notes. You can click on the formula if you need to edit it.

The Insert Formula window will open on screen. Here, you can type in your formula and are then given a preview of what this will look like when it has been added to your notes.
You can add maths, chemistry or physical units. For more information on how to add these, you can click the link in the window. The link is also found here -
https://help.genio.co/article/411-adding-formula

The Screenshot Tool
Use the screenshot function to capture images that are not included in the PowerPoint presentation. The screenshot will be posted into the Notes panel.
![]()

Adding an image
Press on the Image icon to post an image into the notes column.
![]()
You will have the option to import a saved image, or to search using Google Images.

The Task Tool
The Task label can be used to note any tasks that have been set during the recording, or any personal tasks that you have set yourself.
You can also set a deadline for the task if you want to.


A list of all Tasks found across all events/recordings can be viewed from the main menu by going to the Tasks screen. You can also tick them as completed from here.
The Definition Tool
The Definition tool can be used when you are unsure of a term or phrase that has been used in your teaching session.


Annotate Slides
Slides can also be annotated, either during a live recording or when you are reviewing the recording. You will see a toolbar below each slide that provides a range of annotation tools.

Here you have options to add your own typed notes to a slide, highlight or mark up text, draw on the slide with a choice of pen or highlighter, add shapes and also change the colour and thickness of the chosen drawing tool.
Towards the top right of the slide is another toolbar.

Here you have options to magnify the slide, search the stack of slides for a keyword, and options to replace, delete or add more slides.
Next section: Saving and Reviewing